Double the Dice Bag
Hello!
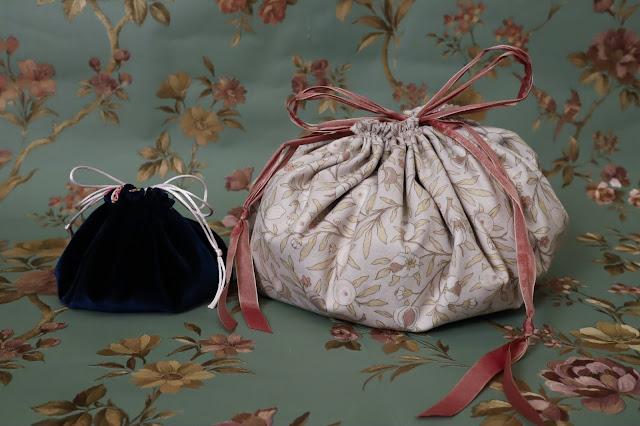
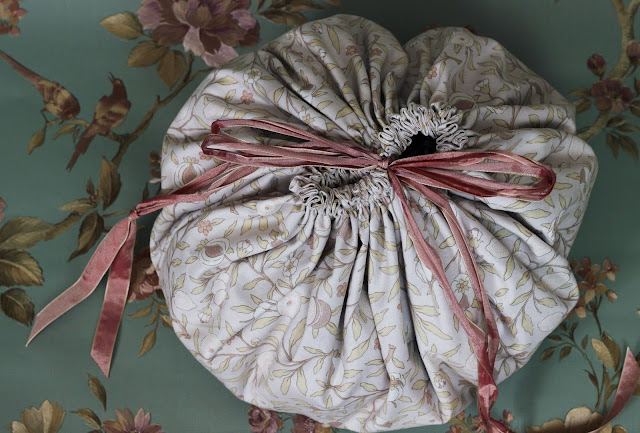
The idea of changing the scale of this pattern has been floating around in my head for a while. I wanted to make this version giant so that it can hold all of the craft projects!
I previously made a video on this pattern when I came up with it. The following video just gives an visual overview for each of the steps in the pattern.
To make your own bag of this size, you'll need double the amount of materials listed in the pattern.
In your printer settings, select “Poster” and scale up to the desired size. This one is scaled up 200% to double the measurements. Select the amount of overlap and tick the boxes for cutting marks and labels if desired. Put a massive amount of paper in your printer and hit print.
Stick all of your printed sheets together. This was much harder than I anticipated since, on my set up, it centred each page. This meant I had to trim down areas where when printed normally, it would be anchored to the edge of the page. I found the Bag Outer piece the hardest to get matched up so I opted to not be too fussy and just make sure the outer edges matched as closely as possible to the measures I wanted from the centre point. I checked this using the radius of my circle, which needed to be 380mm for a diameter of 760mm.
I also decided to reduce the size of my centre circle by 30mm total so I measured in 15mm and drew a new line. I changed the quilting pattern to bring in a motif from the outer fabric to the centre.
Cut out all of your pieces making sure to copy over centre marks, pocket marks, quilting lines (to just one of the inner bag pieces, and any other key information. For this version, I decided to copy over the new quilt motif using a makeshift lightbox from a glass top side table and a lamp.
From here, it’s just a matter of following the assembly instructions given in the pattern. To give you a visual, on the video, I’ve put the step number in the lower left hand corner of the screen so you can see each step being done.
As a final touch, I decided to add more ribbon to the top of the pockets and then use it as a channel to add some elastic. The top of the ribbon was machine stitched down and then I used a running stitch to attach the bottom of the ribbon. I marked out lines on the elastic so each pocket had the same length of elastic in it and secured them at each pocket seam with a back stitch.
The elastic made it so the pockets are a little better at holding in their contents. I didn’t pull it too much since I didn’t want it to affect the overall shape of the bag when closed.
I might go back and make the drawcord channel a little bigger since it’s a little tight but all in all I’m pretty happy.
This bag has been amazing for larger knitting projects, especially colourwork!
It’s about the size of my cat so it sits pretty comfortably in my lap although I’m not sure that will fly with Luna in the long run…


Comments
Post a Comment